Car Interior Customization: 4-Weekend Build Guide
Updated October 12, 2026
Quick fit: A staged car interior customization plan balances driver ergonomics with 100% reversible styling across four weekends ($450 to $1,000 total). By starting with driver touchpoints, layering fitted seat protection, wrapping vulnerable trim panels, and adding subtle ambient lighting, you create a cohesive cockpit without voiding vehicle warranties.
- Reversibility priority: Choose modifications that clip, slip, or bolt directly into existing factory provisions; avoid cutting original dashboard wires or gluing trim components permanently.
- Unified cabin palette: Establish a strict two-tone theme using a single neutral base with one purposeful accent color; avoid combining clashing neon shades that create visual distraction.
- Airbag deployment safety: Never install seat covers or dash mats that obstruct designated side-airbag tear seams; check vehicle safety tags before securing tight retention straps.
- Hardware clearance checks: Verify full pedal clearance, steering wheel range of motion, and shifter throw before driving on public highways.
what defines a cohesive color palette for your vehicle interior?
Stepping into a thoughtfully customized vehicle cockpit feels completely different from sitting inside a generic stock cabin. While exterior body wraps and aftermarket wheels turn heads in traffic, the interior is where you spend 100% of your driving time. Too many enthusiastic builders rush out to buy random catalog accessories, only to end up with a cluttered cabin that clashes with existing upholstery.
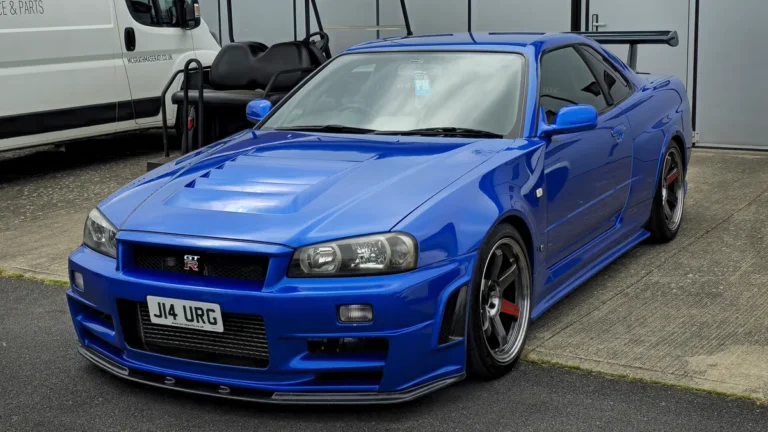
Every great interior starts with restraint. Before ordering any aftermarket hardware, define your core color story. Look at your vehicle factory headliner, door cards, and carpeting. In most modern automobiles, these foundational materials are cast in neutral charcoal, dark slate, or warm beige. Pick exactly one accent hue that complements this base. Classic Japanese styling often pairs dark charcoal interiors with crimson red, electric blue, or subtle brass gold accents. Keep the ratio disciplined: 80% neutral foundation to 20% accent color.
Plan before you buy. If you want to understand how grassroots tuners developed these design traditions, check our guide to Japanese styling culture to explore how minimalist track styling influenced modern street cockpits.
car interior customization: 4-weekend reversible project plan
Tackling car interior customization as a structured project prevents burnout and keeps your vehicle drivable every Monday morning. You do not need to gut your cabin down to bare metal to achieve a high-end look. By staging your project over four consecutive weekends, you can systematically upgrade ergonomics, comfort, and aesthetics on your daily driver.
| Weekend Phase | Focus Area | Primary Upgrades | Estimated Cost | Typical Installation Time |
|---|---|---|---|---|
| Weekend 1 | Driver Touchpoints | Weighted shift knob, stitched steering wrap, aluminum pedal covers | $120 to $250 | 3 to 4 hours |
| Weekend 2 | Upholstery Protection | Custom-tailored seat covers, heavy-duty floor mats, console cushions | $180 to $380 | 4 to 5 hours |
| Weekend 3 | Trim Refinishing | Cast vinyl interior wrap on center console, dash spear accenting | $70 to $160 | 5 to 6 hours |
| Weekend 4 | Atmosphere & Details | Fused 12V footwell LED lighting, cabin scent diffusers, rear mirror charm | $50 to $120 | 2 to 3 hours |
Stage every modification carefully. The beauty of this schedule lies in complete reversibility. If you decide to sell your vehicle or trade it in down the road, every single component can be returned to bone-stock condition in less than three hours using basic hand tools.
how do upgraded touchpoints transform driver ergonomics?
Your hands and feet maintain continuous physical contact with three main controls: the steering wheel, the gear shifter, and the foot pedals. Upgrading these direct contact points delivers the highest immediate satisfaction of any interior project.
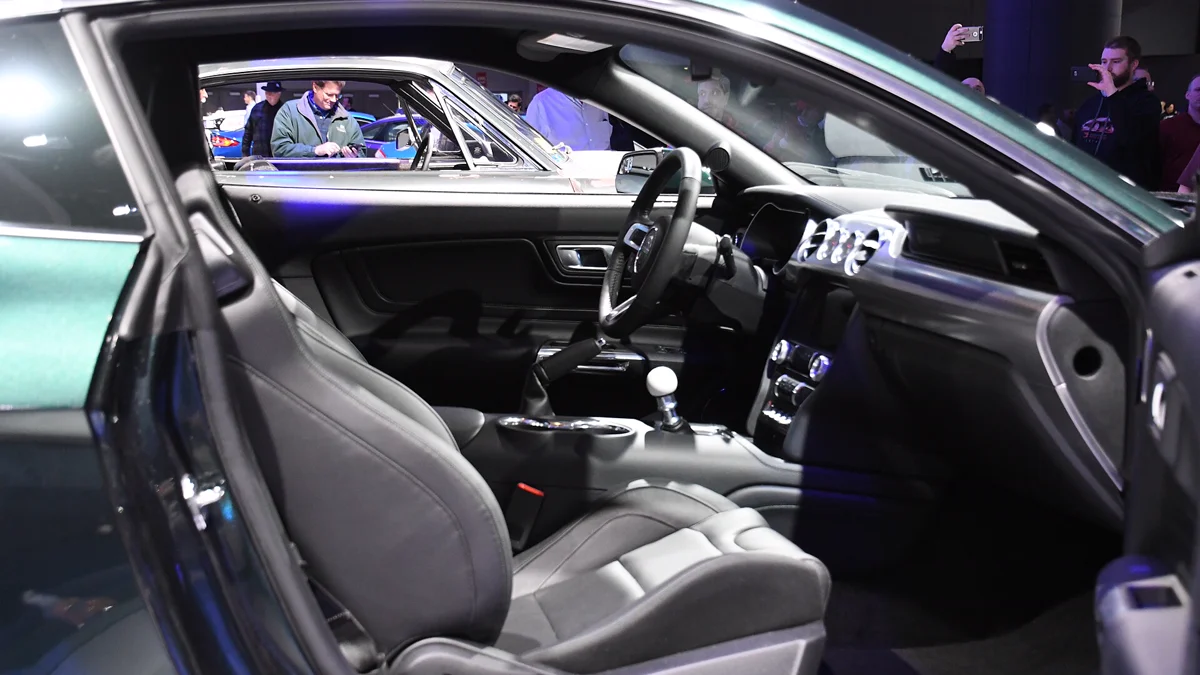
Start with the shifter. Swapping out a worn plastic gear knob for a weighted stainless steel, billet aluminum, or genuine turned-wood handle completely transforms shifting feel. A weighted knob (ranging from 300 to 500 grams) provides mechanical leverage, smoothing out gear engagement through the transmission linkage. Pair your new knob with a custom-stitched shift boot featuring accent thread that matches your designated theme.
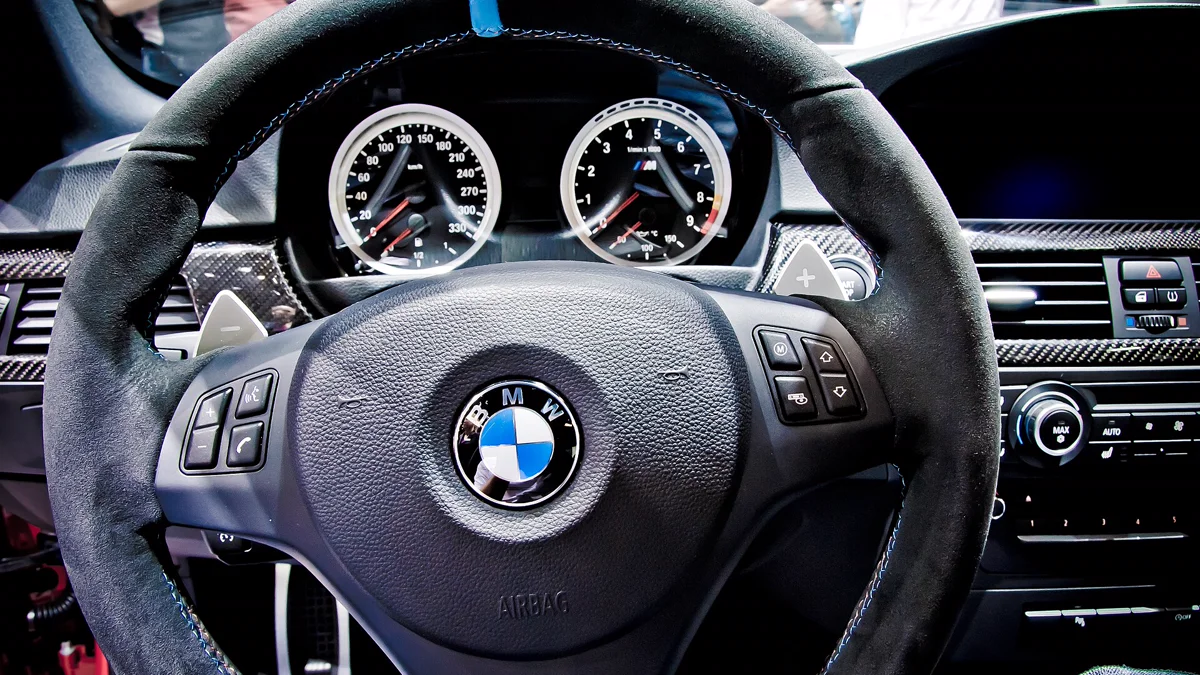
Next, address the steering wheel. Rather than fitting cheap slip-on covers that bunch up or slip during emergency maneuvers, invest in a stitch-on leather or suede steering wheel wrap. These wraps lace directly through the spokes using high-tensile nylon thread. Lacing takes two hours of patient hand stitching. The result looks identical to a high-end luxury wheel while preserving the critical factory steering wheel airbag.
Finish your touchpoint upgrade with clip-on or clamp-on aluminum sport pedals. Textured rubber inserts ensure wet shoe soles never slide off brake pedals during sudden stops. Always check pedal spacing carefully. Ensure the gas pedal cannot catch the brake arm under heavy depression.
how should you protect seats and floor panels without sacrificing style?
Factory vehicle seating takes relentless punishment from sun exposure, friction, and spilled liquids. Weekend two focuses on covering vulnerable seating surfaces while cementing your cabin color scheme.
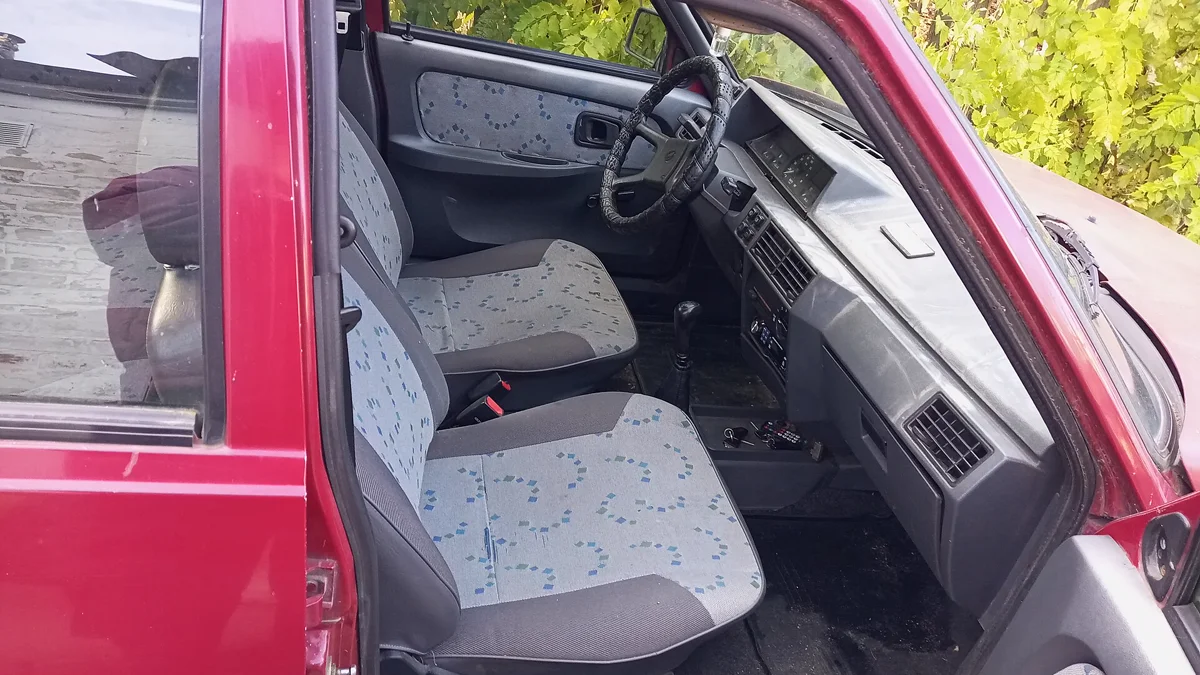
Do not buy universal grocery store seat covers that bag, sag, and slide around when you corner. Look for model-specific tailored seat covers crafted from breathable spacer mesh, synthetic neoprene, or durable faux leather. Proper covers utilize heavy-duty perimeter zippers, anchor chucks that slip between cushion crevices, and under-seat hook tensioners to achieve a drum-tight fit.
Safety comes first here. Modern automotive seats incorporate side-impact airbags inside the exterior bolsters. Verify that any aftermarket cover features certified weak-seam thread or dedicated deployment flap openings. Never compromise crash safety for visual style. Consult our cabin styling resource hub for verified component layouts that keep cabin safety systems fully functional.
For enthusiasts seeking unified interior pieces that match out of the box, exploring curated car decorations packs provides coordinated seat covers, steering wraps, and floor accents that adhere to a single visual theme. Matching all cabin surfaces at once eliminates the guesswork of pairing mismatched shades from separate vendors.
Complement your seating with all-weather deep-dish rubber or custom-tufted carpet floor mats. High-walled floor mats capture muddy water, melted winter snow, and grit before moisture soaks into the unsealed floorboard insulation.
what are the best techniques for console wrapping and ambient lighting?
Modern vehicle interiors are notorious for scratch-prone piano-black plastic trim around center consoles and air conditioning vents. By week three, you are ready to tackle trim restyling using automotive-grade cast vinyl film.
Cast vinyl offers an incredible range of textures, including matte forged carbon, brushed titanium, satin black, and subtle dark woodgrain. To wrap an interior trim panel cleanly, follow these steps:
- Disassemble with nylon pry tools: Never use flathead metal screwdrivers to pry plastic dashboard trim. Metal tools gouge soft dashboard urethane permanently. Use non-marring nylon pry wedges to gently pop plastic retaining clips free.
- Decontaminate with alcohol: Clean every plastic face with 70% isopropyl alcohol to strip away silicone dressings and oils. Vinyl will lift within days if applied over glossy tire shine or protectant sprays.
- Apply dry with radiant heat: Lay the cast vinyl film over the trim piece, smoothing from the center outward using a felt-tipped squeegee. Use a household hair dryer on medium heat to soften the film around tight compound curves and recess pockets.
- Post-heat corners to lock memory: Heat the wrapped edges to 180 degrees Fahrenheit after tucking the material around the back of the trim piece. This post-heating step breaks the vinyl structural memory, ensuring seams never lift under hot summer dashboard temperatures.
On weekend four, add the finishing touches with subtle ambient lighting. Modern fiber-optic and diffused LED strip kits slip discreetly into dashboard panel gaps and footwell kick plates. Power your lights through a 12V accessory socket or a fused add-a-circuit tap in the interior fuse block. Choose a soft, steady warm white or gentle amber glow. Never use flashing or pulsing colored strobes while driving; flashing cabin lights reflect against window glass, destroying night vision and attracting unwanted police scrutiny under official federal motor vehicle safety guidelines.
what it means for your daily driver build
Executing a thoughtful car interior customization project completely reframes your daily relationship with your vehicle. By breaking the process into four structured weekends, you maintain total control over your budget while avoiding the rushed mistakes that leave cockpits half-assembled. You transform dull commute time into an engaging driving experience.
Take time to measure your cockpit clearances and verify component dimensions before placing hardware orders. Keep your tools clean, take your time, and enjoy the satisfaction of building a cockpit tailored specifically to your taste. A personalized daily driver interior proves that high-impact automotive styling happens from the inside out.
How we researched this: Interior customization timelines and cost breakdowns trace back to professional automotive upholstery standards, vehicle safety compliance bulletins, and JDM styling documentation. AI structured the draft; Theo Marchetti tested every timeline phase and installation protocol.
garage questions
How much does it cost to customize a car interior yourself?
A DIY interior restyle focusing on reversible components (weighted shift knob, steering wheel wrap, fitted seat covers, cast vinyl trim wrap, and ambient lighting) typically costs between $450 and $1,000 total. Doing the installation yourself saves hundreds in professional shop labor rates.
Will custom seat covers interfere with side airbags?
Universal seat covers without airbag seams can trap side-curtain airbags during a crash, leading to severe injury. Always purchase seat covers specifically engineered with verified breakaway stitching or open-side panels that allow unhindered airbag deployment.
Can you remove vinyl wrap from interior trim without damage?
Yes, high-grade cast automotive vinyl uses pressure-activated acrylic adhesives that peel cleanly from smooth plastic trim without leaving sticky residue, provided you warm the vinyl gently with a hair dryer during removal.
What is the best way to clean interior custom accessories?
Clean leather and vinyl accessories with a damp microfiber cloth and mild, pH-balanced interior cleaner. Avoid heavy petroleum-based silicone dressings, which create greasy glare across dashboards and attract airborne dust.