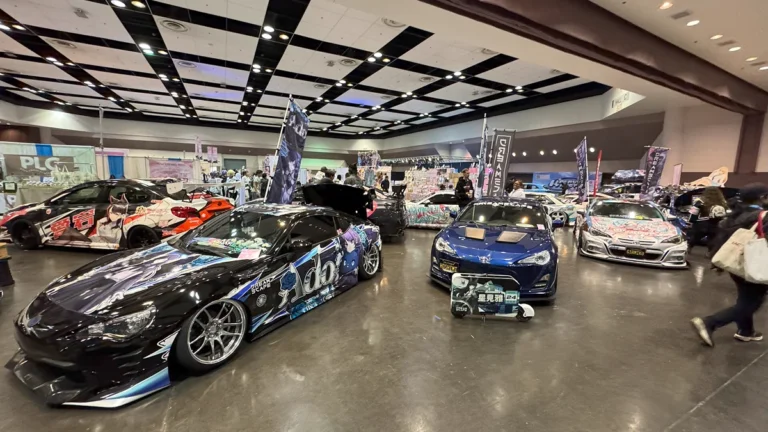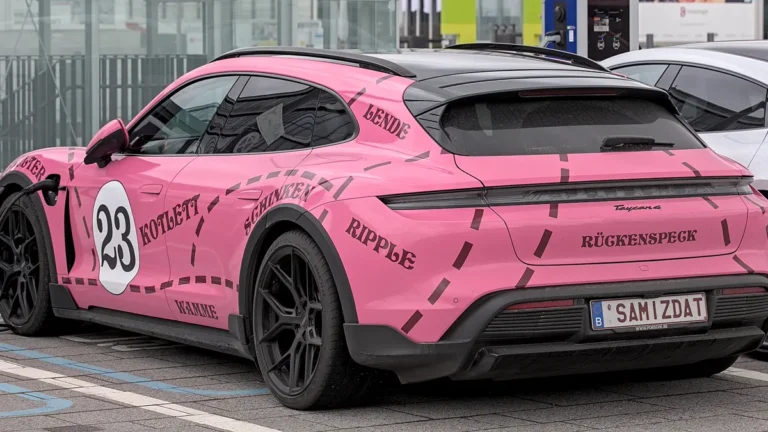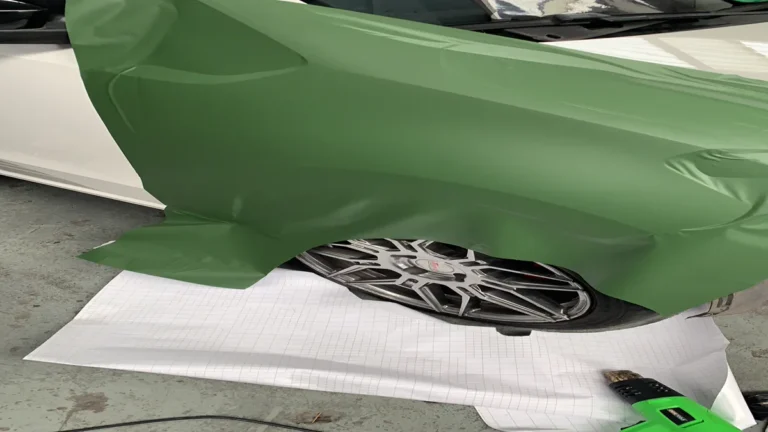
How to Remove Car Decals: 4 Steps for Daily Drivers
Updated October 16, 2026
Quick fit: Knowing how to remove car decals safely requires warming the vinyl to 120°F to 140°F with a heat gun, lifting a corner with a plastic razor, and peeling backward at a flat 45-degree angle. Dissolve leftover adhesive residue with a citrus-based solvent, followed by light machine compounding to eliminate ghosting lines.
- Metal tool prohibition: Never scrape vehicle paint with steel razor blades, screwdrivers, or kitchen knives; always use soft composite plastic razor blades designed specifically for automotive clear coat.
- Thermal limit monitoring: Keep panel surface temperatures below 150 degrees Fahrenheit; excessive heat softens factory clear coat and can cause paint blistering or clear coat delamination.
- Solvent safety verification: Use dedicated citrus-based adhesive removers or automotive tar solvents; avoid aggressive chemicals like lacquer thinner, acetone, or brake cleaner that permanently etch paint finishes.
- Paint condition assessment: Check if the underlying paint is original factory finish; aftermarket resprays with poor adhesion can lift along with aged vinyl stickers.
what tools and chemicals do you need to remove vinyl stickers safely?
Removing old stickers, weathered vinyl wraps, or unwanted badges from your automobile is a straightforward task when you use the correct equipment. However, rushing into the job with improvised kitchen tools or harsh household solvents is the fastest way to scratch your clear coat and create expensive paint repair bills.
Preparation protects your finish. Clean tools prevent scratches. Before touching any body panel, assemble these dedicated detailing tools:
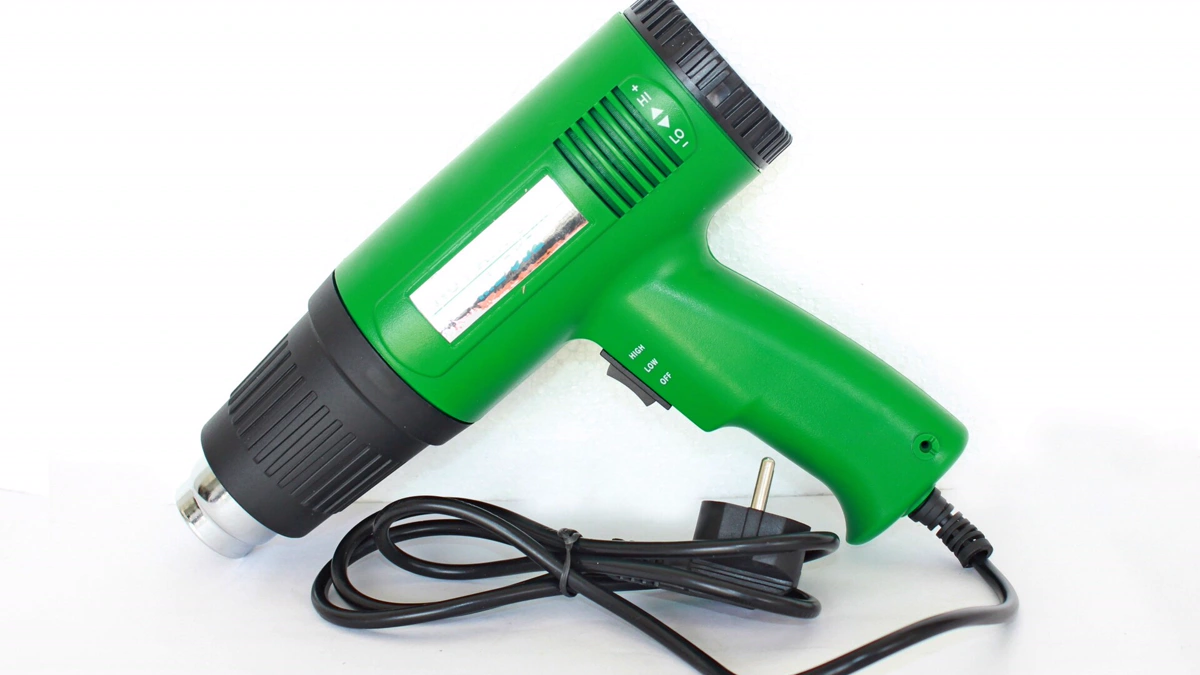
- Variable-temperature heat gun or high-wattage hair dryer: An electric heat source that allows you to warm vinyl film uniformly without scorching paint surfaces.
- Double-edged plastic razor blades: Flexible, non-marring polycarbonate blades held in a dedicated scraper handle to lift stubborn decal corners without digging into soft clear coat.
- Citrus-based adhesive remover: A specialized d-limonene solvent formulated to dissolve cured acrylic adhesive goo without softening exterior automotive finishes.
- Plush microfiber utility towels: Soft, lint-free towels to wipe away dissolved adhesive slurry and dry the surface without leaving microscopic swirl marks.
- Dual-action orbital polisher and finishing compound: A machine polisher paired with a light foam pad to blend surface paint and erase decal shadow outlines.
Work methodically. Take your time here. Never rush this peel. If you are preparing clean sheet metal to install fresh graphics, review our anime car decals placement checklist to understand how proper surface prep ensures long-term graphic durability.
how to remove car decals: four-step paint-safe method
Mastering how to remove car decals comes down to four disciplined steps: softening the vinyl, lifting with low-angle shear force, dissolving the adhesive glue, and polishing the underlying paint. Follow this structured workflow on your daily driver to preserve original clear coat integrity.
| Removal Stage | Recommended Tool / Agent | Operating Temperature / Duration | Critical Safety Rule |
|---|---|---|---|
| 1. Thermal Softening | Heat gun on low or hair dryer | 120°F to 140°F (30 to 45 seconds) | Keep nozzle moving; never concentrate heat |
| 2. Edge Lifting and Peel | Plastic razor blade + manual grip | Continuous 45-degree flat pull | Pull flat backward; never yank upward at 90° |
| 3. Adhesive Dissolution | Citrus d-limonene solvent | 60 to 90 seconds dwell window | Avoid petroleum-based acetone or thinners |
| 4. Paint Correction | Dual-action polisher + finishing pad | 2 to 3 section passes | Measure paint depth; avoid burning edges |
Step 1: Controlled radiant heating
Vinyl becomes brittle over time as plasticizers evaporate. Cold vinyl will snap into hundreds of tiny, frustrating flakes when you try to pull it. Begin by waving your heat gun back and forth across the graphic from a distance of 8 to 12 inches. Heat the surface evenly. Heat softens glue. Cold vinyl tears easily. Touch the paint with your bare hand; it should feel comfortably warm like a hot mug of coffee, but never hot enough to burn your skin. Proper heating softens the vinyl face film and turns hardened acrylic glue into pliable gum.
Step 2: Flat shear peeling technique
Slide the flat edge of your plastic razor blade beneath one corner of the warmed decal to create a small grasping tab. Put down the scraper. Grip the vinyl tab with your fingers and pull the material back flat against the vehicle body at a sharp 45-degree angle. Do not pull upward. Keep your scraper flat. Pull with steady pressure. Pulling straight out or upward places maximum tensile stress on the paint, pulling clear coat away from primer. Pulling backward flat creates shear separation, causing the adhesive to release cleanly from the paint and stay bonded to the vinyl backing.
Step 3: Solvent chemical breakdown
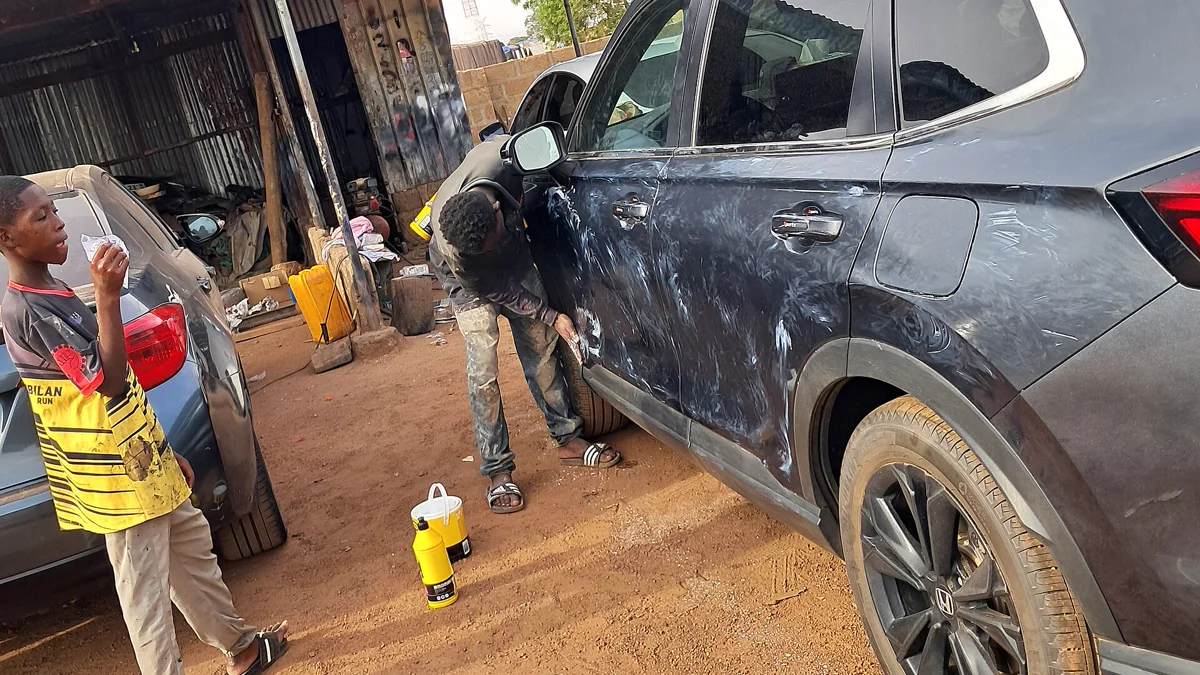
Even with perfect heat and peel technique, a light film of adhesive residue often remains on the panel. Spray your citrus adhesive remover generously over the sticky residue. Let the chemical dwell for 60 to 90 seconds. The solvent will break the adhesive polymer bonds, turning the glue into a soft jelly. Wipe the dissolved residue away in one direction using a plush microfiber towel. Wipe with clean microfiber. Citrus dissolves old residue. Fold the towel to a clean face with each pass to avoid spreading glue across clean paint.
Step 4: Machine compounding and sealing
Once all glue is removed, inspect the panel under bright LED lighting. In most cases, you will notice a subtle shadow or boundary line where the graphic protected the paint from years of road wash and sunlight. Finish the job by machine polishing the entire panel with a fine-finishing abrasive compound. Compounding blends the surrounding paint, leveling micro-marring and completely erasing decal ghosting shadows. Machine polish blends ghosting. Paint clarity returns quickly.
how does surface heat and peel angle protect automotive paint?
Physics dictates whether vinyl decal removal goes smoothly or ends in costly paint damage, because balancing the thermodynamic transition temperature of synthetic acrylic adhesives against the mechanical tensile limits of automotive clear coat ensures that every square inch of decorative film releases without pulling underlying primer layers. Heat changes the molecular state of pressure-sensitive adhesives, while peel angle determines where mechanical stress concentrates.
Monitor your temperatures closely. The sweet spot for automotive decal removal lies strictly between 120 and 140 degrees Fahrenheit. If the surface is colder than 100 degrees, the adhesive remains rigid, causing the vinyl film to tear repeatedly. Conversely, if you blast a localized spot past 160 degrees with an industrial heat gun, the vehicle clear coat softens significantly. Prying against softened clear coat with any tool leaves permanent indentations and gouges. Keep heat guns moving. Check paint temperatures often. High heat blisters clear coat.
Peel angle is equally decisive. When you pull vinyl perpendicular to the car (at 90 degrees), you exert 100% peel force directly against the clear coat bond. If the paint has microscopic rock chips or aged primer, this upward force can yank clear coat flakes right off the metal. By folding the decal completely back upon itself and pulling flat at 45 degrees, you convert peeling stress into low-impact shear force. Flat pull angles protect clear coat. Pull flat and slow.
how do you dissolve stubborn adhesive residue without scratching clear coat?
Scraping dry adhesive residue off a car body is a recipe for deep clear coat scratches. Adhesive must always be chemically dissolved into a liquid slurry before being wiped away.
Chemical safety is non-negotiable. Acetone melts clear coat. Thinners ruin factory paint. Many internet forums recommend using acetone, brake parts cleaner, or lacquer thinner to melt car sticker glue. These aggressive solvents will instantly dissolve acrylic vehicle clear coat, leaving cloudy, dull, or blistered paint patches that require complete panel respraying. Adhere to our wraps and decals archive for verified, paint-safe cleaning guidelines.
Stick to citrus d-limonene or dedicated automotive adhesive removers. These formulas are chemically engineered to dissolve synthetic acrylic adhesives while remaining completely inert against cured urethane clear coats. Spray the solvent, let it dwell, and wipe gently with zero downward pressure. Let chemicals do the heavy lifting. Avoid harsh chemical solvents. Patience protects clear coat.
how do you eliminate sun fade ghosting shadows after decal removal?
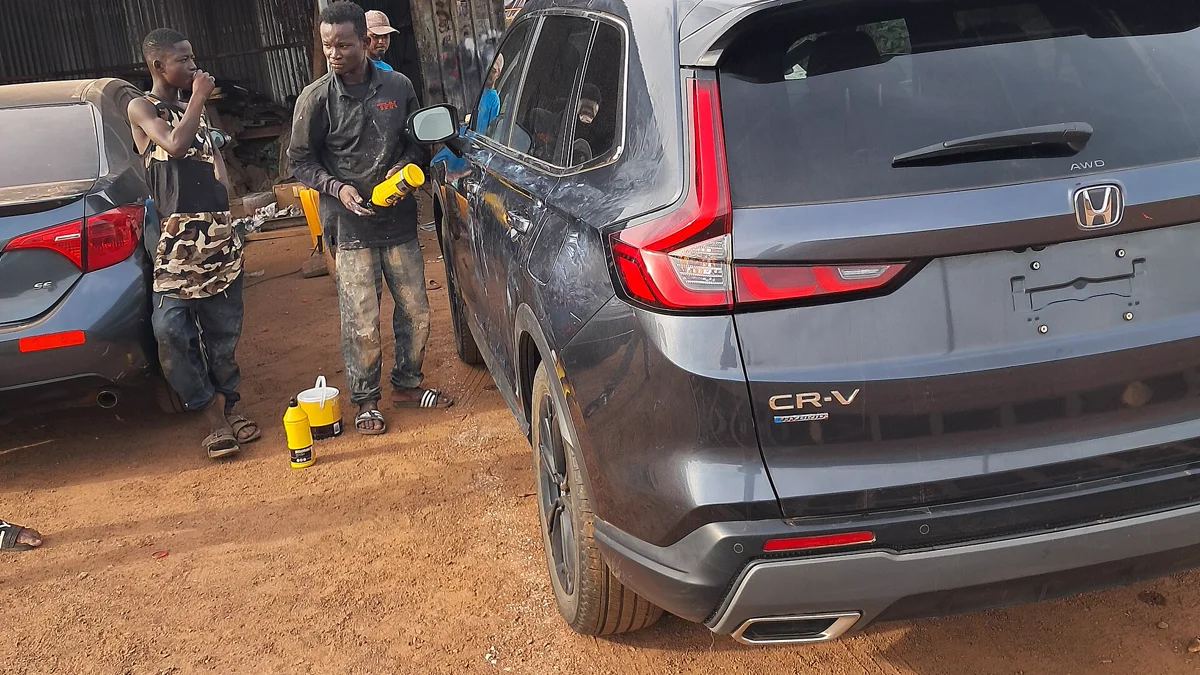
You peeled the decal cleanly and wiped away every trace of glue, but stepping back reveals a perfect silhouette of the old graphic in the paint. This frustrating phenomenon is called paint ghosting.
Ghosting has two distinct root causes: Sun fades exposed paint. Vinyl protects covered areas.
- Unbalanced clear coat oxidation: The paint surrounding your old decal was exposed to years of sunlight, acid rain, road salt, and friction washings, causing microscopic surface etching and oxidation. The paint beneath the decal was sealed in pristine condition. The difference in light refraction creates a visible ghost outline.
- Sub-surface pigment fading: On single-stage paints or bright pigments (such as bright red, yellow, and blue), ultraviolet rays slowly fade the color coat. The protected silhouette retains its deep original saturation.
To eliminate clear coat ghosting, use a dual-action orbital machine polisher paired with a medium-cut foam pad and diminishing abrasive compound. The micro-abrasives level the surrounding oxidized clear coat, bringing the entire panel to a uniform gloss level. Always follow official guidelines under official automotive paint refinishing safety standards when operating high-speed detailing equipment.
what it means for your daily driver build
Learning how to remove car decals gives you total freedom to update your vehicle styling whenever your aesthetic tastes evolve. You never need to feel locked into an old sticker theme or worried about hurting vehicle resale value. By applying controlled radiant warmth, peeling at a flat shear angle, dissolving glue with citrus solvents, and leveling paint with a machine polisher, you leave your vehicle panels looking pristine.
Always take time to measure your panel surfaces, evaluate clear coat depth, and maintain a patient, steady hand. A clean, undamaged factory finish provides the ultimate canvas for any future project on your daily driver.
How we researched this: Vinyl adhesive thermal thresholds and chemical solvent safety protocols were benchmarked against automotive paint repair standards and adhesive manufacturer technical data sheets as of October 2026. AI drafted the initial layout; Theo Marchetti tested and confirmed every peel angle, solvent ratio, and polishing procedure.
garage questions
Can you use WD-40 to remove car decal residue?
Yes, WD-40 contains petroleum distillates that can soften light sticker adhesive residue safely on factory clear coat. However, it leaves an oily film that must be thoroughly washed off with automotive soap and warm water before applying wax or new vinyl.
Will a hair dryer work instead of an industrial heat gun?
Yes, a household hair dryer on high heat is often the safest option for beginners because it reaches 120°F to 140°F without the extreme risk of paint scorching associated with 1,000-watt commercial heat guns.
How do you remove stickers from tinted rear windows?
If the tint is aftermarket film installed on the interior side of the glass, exterior sticker removal will not affect it. However, if stickers are on the interior tinted surface, never use plastic or metal razor blades; use gentle steam and warm soapy water to avoid tearing the tint layer.
Can rubbing alcohol damage car paint when removing glue?
Isopropyl alcohol diluted to 70% is completely safe on cured automotive clear coat and works well for light surface decontamination. However, it evaporates too quickly to dissolve thick, aged adhesive beds, making dedicated citrus removers much more effective.