DIY Car Wrap: 6 Essential Rules for Wrapping at Home
Updated November 2, 2026
Quick fit: Executing a successful diy car wrap at home requires controlling ambient garage temperature between 68°F and 74°F, misting concrete floors to suppress dust, and glassing vinyl sheets before squeegee contact. Disassemble lights and handles for clean edge tucking, and post-heat all recesses to 200°F to eliminate edge peeling.
- Thermal workspace control: Maintain indoor garage temperatures between 68°F and 74°F; cold environments make vinyl brittle, while excessive heat causes premature adhesive tack.
- Dust suppression protocol: Wet-mop concrete floors and run an air filtration fan for two hours before unrolling cast wrap film to eliminate airborne lint nibs.
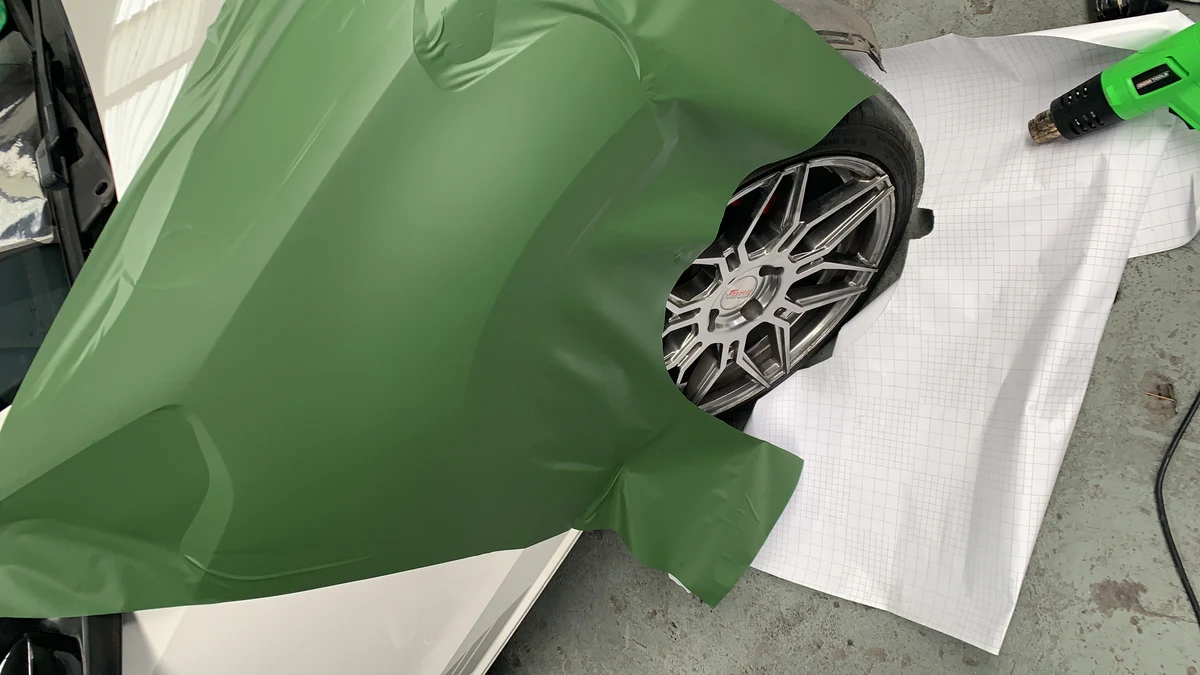
- Glassing tension technique: Stretch vinyl corners diagonally outward to create a flat, tensioned sheet across the body panel before pressing down with squeegees.
- Component removal strategy: Remove headlights, taillights, door handles, and emblems rather than attempting blind razor trimming against factory clear coat.
what tools and supplies do you need for a diy car wrap?
Wrapping your own vehicle at home is one of the most rewarding cosmetic projects you can undertake. A full professional wrap job often costs several thousand dollars in shop labor, as broken down in our car wrap cost breakdown. Completing a diy car wrap allows you to achieve custom color transformations on your daily driver for the cost of raw materials and basic tools.
Professional results depend heavily on having the right installation equipment. Attempting to wrap vehicle panels with household utility knives and hard plastic scrapers leads to scratched paint and torn vinyl. Equipping your home shop with dedicated wrapping tools ensures clean execution.
| Installation Tool | Recommended Specification | Primary Function | Rookie Mistake to Avoid |
|---|---|---|---|
| Cast Wrap Vinyl | Premium Cast Film (3.2 mil) | Conforms to complex curves without lifting | Using cheap calendared sign vinyl |
| Felt-Edge Squeegee | Medium-Flex with Microfiber Buffer | Evacuates air channels without scratching film | Using bare plastic edges on dry vinyl |
| Precision 30-Degree Knife | Stainless Steel Auto-Lock Blade | Cuts cleanly through vinyl backing and film | Using dull 45-degree box cutter blades |
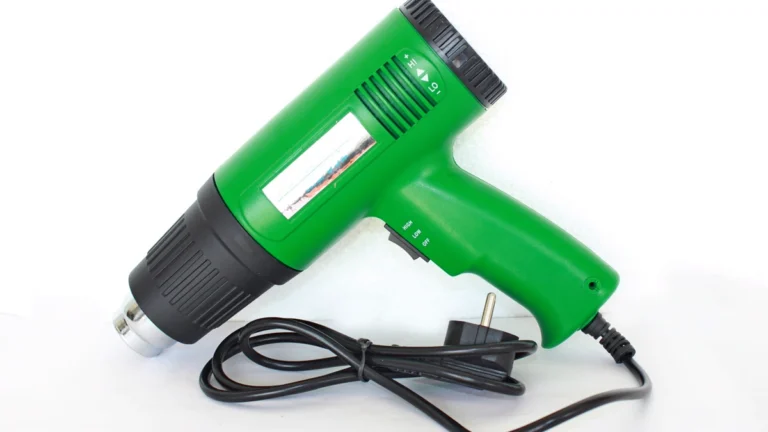
| Digital Heat Gun & IR Temp | Variable Temperature 100°F to 1000°F | Softens film and performs post-heating | Overheating localized spots past 250°F |
Investing in quality cast wrap film and specialized squeegees provides the foundation for success. High-grade films feature micro air-release channels that allow trapped bubbles to escape effortlessly with light finger pressure.
how do you prepare a residential garage for clean vinyl installation?
Environmental contamination is the single biggest threat to a flawless wrap finish. Airborne dust particles, pet hair, and floor grit settle onto the adhesive layer the moment you peel off the paper backing, creating permanent visible pimples under the vinyl.
Transforming your home garage into a clean room takes only a few hours of preparation. Remove all lawn equipment, cardboard boxes, and dusty shelving from the immediate workspace. Vacuum the entire garage floor, then lightly mist the concrete with water using a garden pump sprayer. Damp concrete traps fine dust particles on the ground, preventing foot traffic from kicking dirt up into the air.
Close all garage doors and windows to eliminate outdoor cross-breezes. Run a basic box fan fitted with a residential furnace air filter for two hours before beginning work to scrub airborne particulates. Regulate indoor temperature between 68°F and 74°F. Working in cold air makes vinyl stiff and brittle, while excessive ambient heat causes adhesive to grab aggressively before you can position the sheet.
how to wrap a car yourself: six-step panel installation method
Approaching a full wrap requires breaking the vehicle down into individual panels. Working on one panel at a time prevents fatigue and allows you to maintain consistent quality across every body line.
Follow this systematic installation protocol for flat and contoured panels:
- Step 1: Deep surface cleaning: Wash the car, clay bar the paint, and perform a final wipe with a 70 percent isopropyl alcohol solution to remove all residual oils and waxes.
- Step 2: Component disassembly: Remove headlights, taillight housings, door handles, side mirrors, and emblems to expose clean panel return edges.
- Step 3: Rough sheet cutting: Unroll your vinyl roll and measure the target panel, adding 4 to 6 inches of excess material on all sides for handling tabs.
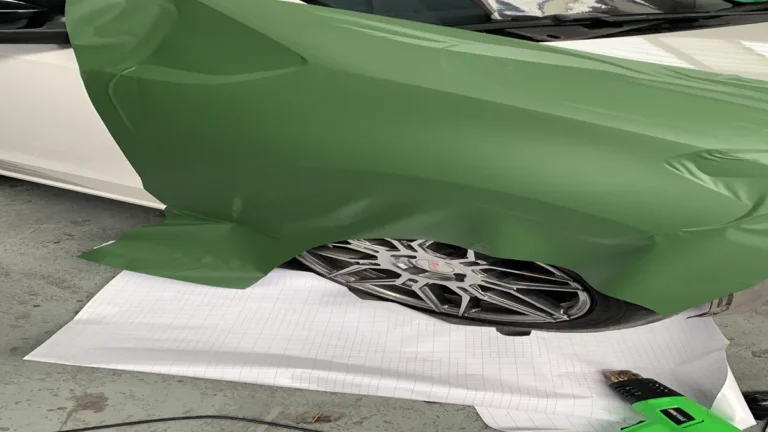
- Step 4: Panel glassing: Peel the backing paper completely, hold the vinyl sheet taut by its corners, and stretch it diagonally across the panel until the center area is completely flat and wrinkle-free.
- Step 5: Squeegee air evacuation: Work from the center outward in overlapping 45-degree strokes, pressing air out through the microscopic adhesive channels.
- Step 6: Edge trimming and tucking: Trim excess material with a 30-degree knife, leaving 3mm to 5mm of vinyl border to wrap around the back edge of the sheet metal.

Never rush the squeegee phase. Overlapping each stroke by 50 percent ensures that air pockets are pushed smoothly off the panel edge rather than trapped between adhesive rows.
how does panel glassing prevent vinyl discoloration and failure?
Beginners often make the mistake of laying wrinkled vinyl onto paint and attempting to squeegee out folds one by one. This approach results in severe wrinkles, adhesive distortion lines, and excessive localized stretching.
The glassing technique solves this problem before squeegee contact. By anchoring the four corners of a vinyl sheet with mild diagonal outward tension, the film floats across the body panel like a pane of glass. Once the vinyl is glassed, the squeegee glides effortlessly over a flat surface without fighting wrinkles or creating air traps.
Keep overall vinyl stretch below 10 to 15 percent. Overstretching vinyl thins the protective clear laminate and distorts pigment layers, causing dark colors to look faded and metallic flakes to clump unevenly. For long-term film durability insights, consult our guide on car wrap lifespan.
why is post-heating mandatory for deep body contours and edges?
Vinyl films possess molecular memory from the manufacturing process. When vinyl is stretched into deep bumper vents, door cup recesses, or body swage lines, the material naturally tries to shrink back to its original flat shape as it cools.
Post-heating eliminates this memory by heating the polymer chains to 195°F to 205°F. At this thermodynamic transition point, the vinyl molecular bonds reset, permanently locking the material to the exact contour of the body panel.
Wave your heat gun evenly along all trimmed edges, corner wraps, and deep recesses while monitoring surface temperature with an infrared digital thermometer. Once the vinyl reaches 200°F, allow it to cool naturally. Proper post-heating ensures that your wrap a car at home project withstands summer sun and winter frost without edge lifting. Explore more restyling techniques in our wraps and decals archive.
what it means for your daily driver build
Tackling a complete vehicle wrap in a home garage requires patience, clean preparation, and disciplined technique. By maintaining optimal ambient temperatures, practicing panel glassing, and sealing edges with post-heating, you achieve a stunning color transformation that protects original paint and turns heads wherever you drive.
Take time to measure vinyl sections carefully, plan your exterior color story, and wipe down every adjoining body panel. A well-executed DIY wrap gives your daily driver a bespoke, showroom-quality finish you can be proud of.
How we researched this: Cast vinyl thermodynamic elongation limits and surface adhesion tension standards were benchmarked against wrap manufacturer technical installation manuals and restyling industry standards as of October 2026. AI drafted the initial layout; Theo Marchetti tested and confirmed every glassing stretch angle, temperature window, and dust control procedure.
garage wrapping questions
How much vinyl do you need to wrap a standard sedan?
A standard mid-size sedan typically requires a 50-foot by 5-foot roll (250 square feet) of cast wrap vinyl, which provides sufficient material for all body panels plus extra for practice or recutting mistakes.
Can you wrap a car with peeling clear coat or rust spots?
No, vinyl wrap requires a smooth, sound substrate. Peeling clear coat, rock chips, and rust must be sanded smooth, filled, and primed before wrapping, otherwise imperfections will telegraph through the vinyl and pull clear coat during removal.
Why does wrapped vinyl lift around door handles and corners?
Edge lifting occurs when vinyl is stretched into corners without proper surface cleaning, or when the installer forgets to post-heat the edges to 195°F to 205°F to destroy vinyl plastic memory.
How long does a DIY car wrap take to complete at home?
For a beginner working in a home garage, wrapping a complete vehicle typically takes between 25 and 40 hours spread across several evenings or two full weekends.